Display Jupyter Notebooks with Academic
Learn how to blog in Academic using Jupyter notebooks

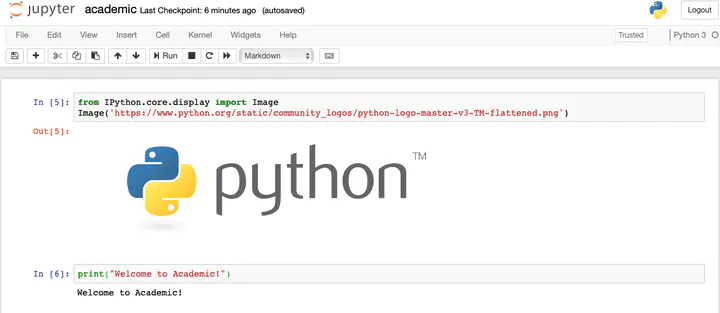
from IPython.core.display import Image
Image('https://www.python.org/static/community_logos/python-logo-master-v3-TM-flattened.png')

print("Welcome to Academic!")
Welcome to Academic!
Install Python and JupyterLab
Install Anaconda which includes Python 3 and JupyterLab.
Alternatively, install JupyterLab with pip3 install jupyterlab.
Create or upload a Jupyter notebook
Run the following commands in your Terminal, substituting <MY-WEBSITE-FOLDER> and <SHORT-POST-TITLE> with the file path to your Academic website folder and a short title for your blog post (use hyphens instead of spaces), respectively:
mkdir -p <MY-WEBSITE-FOLDER>/content/post/<SHORT-POST-TITLE>/
cd <MY-WEBSITE-FOLDER>/content/post/<SHORT-POST-TITLE>/
jupyter lab index.ipynb
The jupyter command above will launch the JupyterLab editor, allowing us to add Academic metadata and write the content.
Edit your post metadata
The first cell of your Jupter notebook will contain your post metadata (front matter).
In Jupter, choose Markdown as the type of the first cell and wrap your Academic metadata in three dashes, indicating that it is YAML front matter:
---
title: My post's title
date: 2019-09-01

# Put any other Academic metadata here...
---
Edit the metadata of your post, using the documentation as a guide to the available options.
To set a featured image, place an image named featured into your post’s folder.
For other tips, such as using math, see the guide on writing content with Academic.
Convert notebook to Markdown
jupyter nbconvert index.ipynb --to markdown --NbConvertApp.output_files_dir=.
Example
This post was created with Jupyter. The orginal files can be found at https://github.com/gcushen/hugo-academic/tree/master/exampleSite/content/post/jupyter